Monday, October 31, 2011

building Dr. Killinger part 4: the finale... putting him all together

greetings!  i'm sorry i didn't get to posting this last week.... i wanted to show the final costume all put together and we just didn't get pics taken until saturday.  the bonus is that you will get two posts this week!
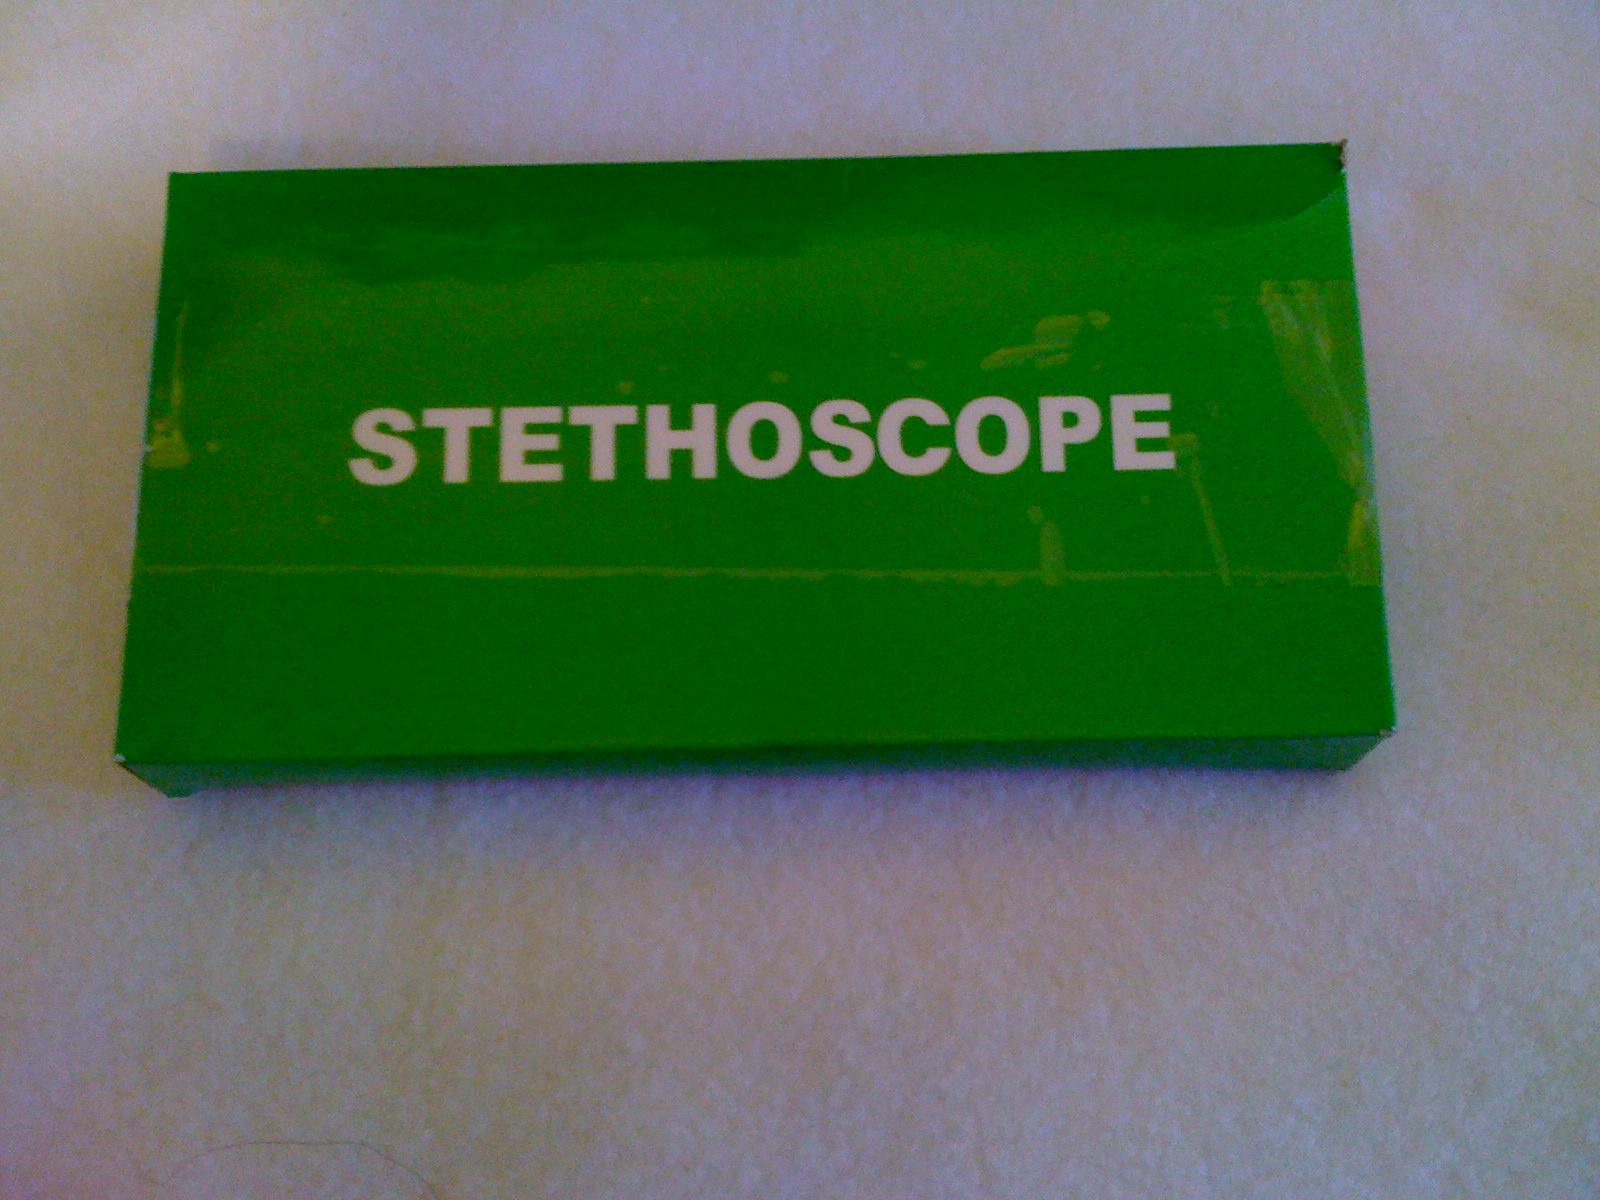
let's see, we have a mask, a murder bag, gloves and shoes....  just how many props does one costume need?  a lot apparently ;)  dr. killinger *is* a doctor after all so he needs a stethoscope.


i picked this up at a local surplus store. it's an actual working stethoscope!  but it was black.  i painted the tubing with silver fabric paint.  fabric paint so it will remain flexible and not chip off.... works like a dream!

next came the handcuffs (he keeps his magic murder bag handcuffed to his wrist.... one can't let those wondrous secrets get out ;)


these were just cheap metal costume cuffs i found.  even though they were already silver colored i felt i needed to help them fit in with the other painted items so i added a touch of the fabric paint


next up, the umbrella....  because no evil mary poppins figure is complete without one!


i started with this.  it was the closest i could find.... black fabric with a crooked handle, but it still needed some painting.

i added red fabric paint to the outlines of the umbrella....  following the contours like the illustration lines in the cartoon.


i also painted the handle and shaft.... and coated this in hard coat mod podge to protect it. (have i mentioned lately how much i love that stuff??)


the red edges make for a really cool effect when the umbrella is closed

next up, the coat!
he's really wearing a black 3/4 sleeve chef's coat.  you can find them made for women, but i wanted to save some $$ and make it myself, but i couldn't find a chef's coat pattern in a women's cut and since i already was spending a lot of time and work on this i didn't want to have to drape a coat so i decided to modify a pattern...  this is the closest thing i could find:

it worked really well.  there were several options built into the pattern.  once i figured out which version i would make i still needed to mod it a bit.  my modifications were to add 3 inches to the with of the front panels (so the buttons were farther apart), use only the collar base to make the mandarin collar, lost the belt and belt loops, and take a smaller seam allowance for the with of the coat so it was a little more roomy without being too shapeless (the sleeves and shoulder seams stayed the same)


again, to up the cartooniness i followed the contour lines of the coat with some silvery grey bias tape (i couldn't find piping in the right shade ;)

the buttons were the cover your own kind that i just glued together and painted with the metallic fabric paint for that slightly unreal look.  you can also see how i got out of making buttonholes for this.....  i despise sewing buttonholes, but love buttons!


here you can see the effect of the buttons, 'piping' and stethoscope together.....


i cut the killinger logo out of some red faux leather i had and sewed it on the coat (the same stuff i painted and used on the murder bag)


and the coat is lined in red satin ;)

and one might wonder what i wore under the coat?

just a black t-shirt with the same logo process as the jacket because i knew i'd get warm if i was inside with a lot of people.  this worked out quite nicely.


 also, on my legs were just a pair of black leggings i gave the same treatment as the gloves (red fabric paint contour lines)
and here he is in all his glory: 


 one note.  i wore this for two parties...  the first one i just powdered my hair.  it looked really great except it was really messy...  i had powder everywhere!  not the greatest choice when you're costume is black :/  we took these photos on the next day before the second party... i found some spray color, but it really didn't work well at all......  i may just invest in a grey wig :(


 thanks so much for looking!   i'll be back later this week with Dr. Rusty Venture!
have a safe and happy halloween!
-sarah


Tuesday, October 18, 2011

building Dr. Killinger part 3: magic murder bag and sundry

greetings! i'm back with another edition of "building dr. killinger.

this time around i'm focusing on the magic murder bag.
here it is in the cartoon:


but first of all i wanted to show you the finished mask. to cover the eye sockets and still be able to see (in the cartoon they are a soft yellow... like they glow) i used a very sheer white fabric from my stash that i colored with a yellow marker (because if i used paint it would clog the holes and reduce visibility and dye won't really take on this polyester- besides, it's such a small piece why dye?)


and here is the final mask after varnishing and gluing the fabric in the eye sockets..


and here's an action shot.... i didn't realize just how creepy it would turn out after i covered the eyeholes.... it looks like i don't have eyes!


ok, as promised the magic murder bag.... this one didn't require much after i tracked down the right bag. that took some doing as i wasn't about to pay for a *real* vintage leather doctor bag especially since i'd have to paint it :/ so i found this amazing vintage bag on etsy for under $30 including shipping!


as you can see there's not a whole lot i'd have to do...


here is the final bag. i blackened the stitching, painted near the zipper to elude to the metal clasps in the original, and added the killinger logo. because i really can't use a stencil to save my life i cut the logo out of some pleather i painted to match the rest of the bag (and all the accessories)


here you can see the 'clasp' better


and i leave you with a glimpse of what we will see next time.... it's almost done!!!!!


thanks so much for looking!
happy haunting,
-sarah

Tuesday, October 11, 2011

building Dr. Killinger part 2: mask and gloves

greetings!

i've been busily working on this killinger build and i have to say it's coming along nicely. i'm still awaiting the arrival of what will be my magic murder bag, and i haven't decided on an umbrella yet, but other than that i believe i've got all my components, i just need to assemble everything. i've been working on many elements of this at the same time, i don't have as many completed fully as i'd like, but but i can show you a few today.

first of all, i have to share this. the simplicity and silliness of this packaging:

yep. that's it. there's nothing else on the outside of this box, except the price tag from the surplus store i bought it from. i just found it amazing :) yep. it's a real stethoscope. no, there aren't photos of it here because i haven't painted it yet.

well, i've finished the gloves. these are just a pair of opera length costume gloves painted with fabric paint.
both sides shown here.


and the action shots (please ignore the chaos i call a studio- i'm in the middle of a project so it's a disaster area!)


in all of the costumes i'd seen, the people had chosen to make his gloves and leg coverings either all black or red... in the cartoon they appear like this. perhaps the gloves are meant to be black with red shine lines, or perhaps the other way around..... i'd contemplated finding a black satin that had a red sheen when put to light, but i wanted to go very cartooney with this costume. taking it to a weird level of surrealism since i'm obviously not a cartoon... you'll see this more pronounced when i post about the coat.


and now we have the mask. i used a piece i'd made several years ago as a form. yes, this was made from a cast of my face.


i covered it in foil


then i formed the mask over it so it fits my face exactly. i used crayola model magic for this purpose as i'd seen it recommended for this specific use before. i'd never used it before and i'm not sure if i like it.... i found it very hard to work with. hard to get anything smooth as you can see from the pictures, but i will admit it is extremely paintable and lightweight and even slightly flexible after drying which is really ideal for mask making.

as you can see, it's really still terribly rough despite my best efforts....


after a couple days of drying i pulled it off of the form and found the inside still wet and starting to crack.


here is the inside dried and the cracks up close. i filled the deepest of them with hot glue as i figured it would be flexible and strong... i ended up putting several coats of paint and modge podge on this piece just to smooth out the surface


here is a pic of the outside after the final color coat. i'll have pics of the final stages next time.


stay tuned for the next installment!
thanks so much for looking,
-sarah

Monday, October 3, 2011

Cute Kratos

Greetings all,
this one will be a quickie. here's a project i put together a while ago, but haven't gotten around to posting until now. my husband had given me the book creepy cute crochet ( http://www.amazon.com/Creepy-Cute-Crochet-Christen-Haden/dp/1594742324/ref=sr_1_1?ie=UTF8&qid=1317675588&sr=8-1 ) a while before and i thought he needed a cute kratos. if you aren't familiar with the character, kratos is the star (an anti- hero if you will) of the video game series god of war (we are both pretty big fans).
for those not familiar, here's what he looks like:


....and here's my cute version (yes, he's sitting on pandora's box from the "ultimate edition" of god of war III ... i told you we were fans ;)


i used the basic head, body and arms from the book and designed everything else myself. he's crocheted out of a light grey yarn (vanna's choice) his implements are all made of felt except for the "chain" on his belt and around his wrists which is embroidery floss. his eyes are black plastic doll eyes


note the stitched on abs here ;)


and a final pic of him with his not-so-cute alter ego


thanks for looking!

i'll be back next week with more killinger escipades ;)

-sarah

And so it begins.... building Dr. Killinger part 1: slippers

greeting folks! yes, i've been quiet for a while, but i'm BACK! and it's my favorite time of year- time for halloween costume making! this year i'm going as a female dr. killinger from the adult swim cartoon "the venture brothers." i'm super excited for this and i started with my absoloute favorite part. the piece that made me want to do this costume in the first place: the slippers...

i mean really, who doesn't want a pair of skully slippers?

so, to start. i decided to make these completely from scratch... 'cause that's just how i roll ;)
i started by cutting out a shape in the outline of my foot in foam


you'll see that i have two different kinds here. the white is two layers of 1/4 inch craft foam (foamies) and the green is 1/2 inch high density foam.


next i cut two layers of polar fleece a bit larger than the outline for each shoe


then i cut more polar fleece, even larger than the first pieces, for the tops. again, two pieces per slipper. a note here, when making these in the future i will cut longer pieces for the tops so that they cover more of the top of the foot when completed.... these turned out a little short and a little harder to walk in than clogs.


next, i sewed up the bottoms, leaving a generous opening at the toe to slip the foam into


then i sewed the top pieces together (the one flat, straight seam- and please use a stretchy stitch here like a zig zag. you'll need it when you turn it), folded them around and pinned the tops to the bottoms:


another note here: if you do this using two kinds of foam make sure that what will eventually be your sole is actually on top, inside the shoe instead of on the bottom as the toes will get turned.

before i was done pinning i stuffed the tops with polyfil


now sew these up along your pinning line (i had to hand baste, then machine sewed it because my pins were getting in the way... it gets a little tight in there) and turn the toes. here you will be thankful you used a stretchy material as well as a stretchy stitch on the straight seam.


and now the really fun part begins: the needle sculpting! i can't really explain how i do this, it's just something i've taught myself over the years.... but you'll see why i used polar fleece here instead of something more traditional like terrycloth. i needed the stretch.
the completed needle sculpting:


then i cut shapes out of felt for the eyes and nose and used black embroidery floss to outline the teeth. in these next photos the eyes and nose aren't glued down yet (the dots are pins) but this is almost exactly what the final product looks like.


i've since glued down the eyes and glued red faux leather nonslip soles on the bottoms s they are now completed!

what will my next entry be about? the jacket? the mask? the magic murder bag?
stay tuned to find out!

happy hauntings,
-sarah